Wheel Guides
How to Check Frame Clearance for Carbon Rim Brake Wheels
Jun
Frame clearance
Frame clearance is where many rim brake wheel upgrades become real. A wheel can be 700C and still be a poor fit if the tire, rim width, or brake caliper space is too tight for the bike.
Start with the tires you actually want to ride
Do not measure clearance in the abstract. Start with the tire size you plan to use. A rider staying on 23C tires has a different problem from a rider hoping to move to 28C. The printed size on a tire is helpful, but actual inflated width can vary by brand, rim width, and pressure.
If your current 25C tire already sits close to the fork crown or rear brake bridge, treat that as a warning. A new carbon rim may change the tire shape and the way the wheel sits in the frame. Leave more room than “barely spins in the stand.”
Check the front fork first
The front fork is easy to inspect because you can see the tire, fork blades, and brake caliper area clearly. Look at the space above the tire near the fork crown. Then check both sides of the tire where it passes between the fork blades. Finally, look at the brake pads and caliper arms.
If the tire is already close to the fork, a deeper or wider rim does not automatically cause a problem, but the whole setup needs caution. The tire casing and caliper opening are usually more important than rim depth by itself.
Check the rear triangle in three places
At the rear, inspect the brake bridge above the tire, the seatstay area, and the chainstay area near the bottom bracket. Some frames are generous at one point and tight at another. A wheel that clears near the brake bridge can still rub lower down under load or during a hard effort.
Spin the current wheel and look for wobble, old rub marks, or uneven space. If the current wheel is not true, fix that before using it as a clearance reference. A bad reference makes the new wheel decision harder.
| Front fork | Check fork crown, fork blades, and front brake caliper opening. |
|---|---|
| Rear frame | Check brake bridge, seatstays, and chainstays on both sides. |
| Real-world margin | Leave room for tire variation, wheel flex, rim true, and road debris. |
Do not forget the brake caliper
On a rim brake bike, the caliper can be the limiting part. It may not open wide enough for the tire, or the pads may not sit cleanly on the brake track. Older calipers were often designed around narrower rims and tires. A modern carbon rim setup can expose that limitation.
Open and close the caliper. Look at pad position. Make sure the tire can pass through when the wheel is installed and removed. If a mechanic usually has to deflate the tire to remove the wheel, write that down before choosing a new setup.
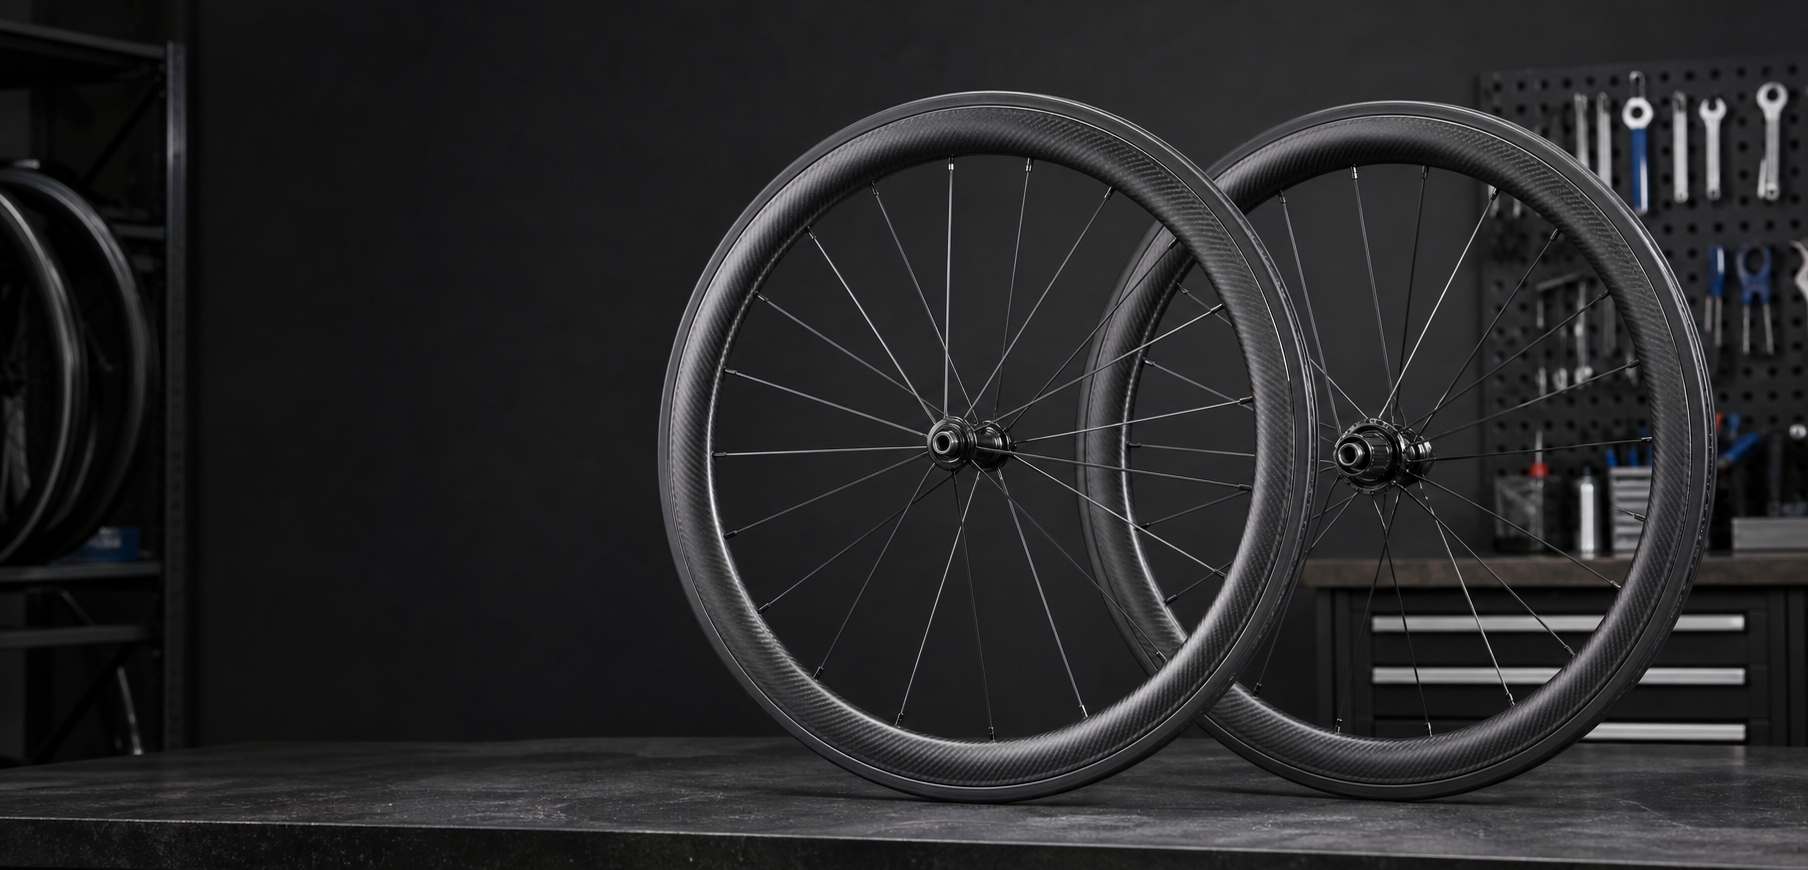
What photos help support
Send clear photos with the current wheel and tire installed. Include the fork crown from the front, the rear brake bridge from behind, the chainstay area from below or behind, and both brake calipers. If possible, include a small ruler or coin near the tightest area for scale.
Support cannot measure the bike through a photo perfectly, but good photos can catch obvious problems. They can also show when the buyer should ask a local mechanic to inspect the bike before ordering.
When clearance is too tight
If the current tire is already rubbing or has less than a practical safety margin, do not force the upgrade. You may need a narrower tire, a different brake caliper setup, or a different wheel choice. Sometimes the correct answer is to keep the existing bike setup conservative.
A carbon wheelset should make the bike more enjoyable. It should not make every ride a clearance experiment. When in doubt, choose the setup that gives the tire room to move safely.
Clearance looks tight?
Send photos before you order. We would rather help you check fit than see you stuck with a wheelset that does not suit your frame.